


In a world dominated by cloud-based software... it's still useful to set up custom synchronization and backup solutions! In my case, this necessity presented itself while using both Logseq and Obsidian, powerful and popular offline-first knowledge management tools. They both offer sync features as a paid service, but we can replicate much of their functionality using open-source tools for free!
In this article I will explore my solution to synchronize text file data between devices and additionally back this data up to Google Drive. While this article focuses on Logseq as an example, the information presented here is easily adaptable to general synchronization and backup requirements.
My open-source utilities of choice for this purpose are:
Syncthing, a "continuous file synchronization program"
rclone, a "command-line program to manage files on cloud storage"
My integrated solution involves the synchronization of data from two machines to a local server where cloud backups are performed. All of my devices run Linux, but this setup should be adaptable to other operating systems.
Let's take a look at how to set this up! 🛠️
Synchronizing with Syncthing
I suggest you begin with Syncthing's thorough Getting Started guide. Here you will find installation instructions as well as introductions to its specific terminology including "local" and "remote" devices.
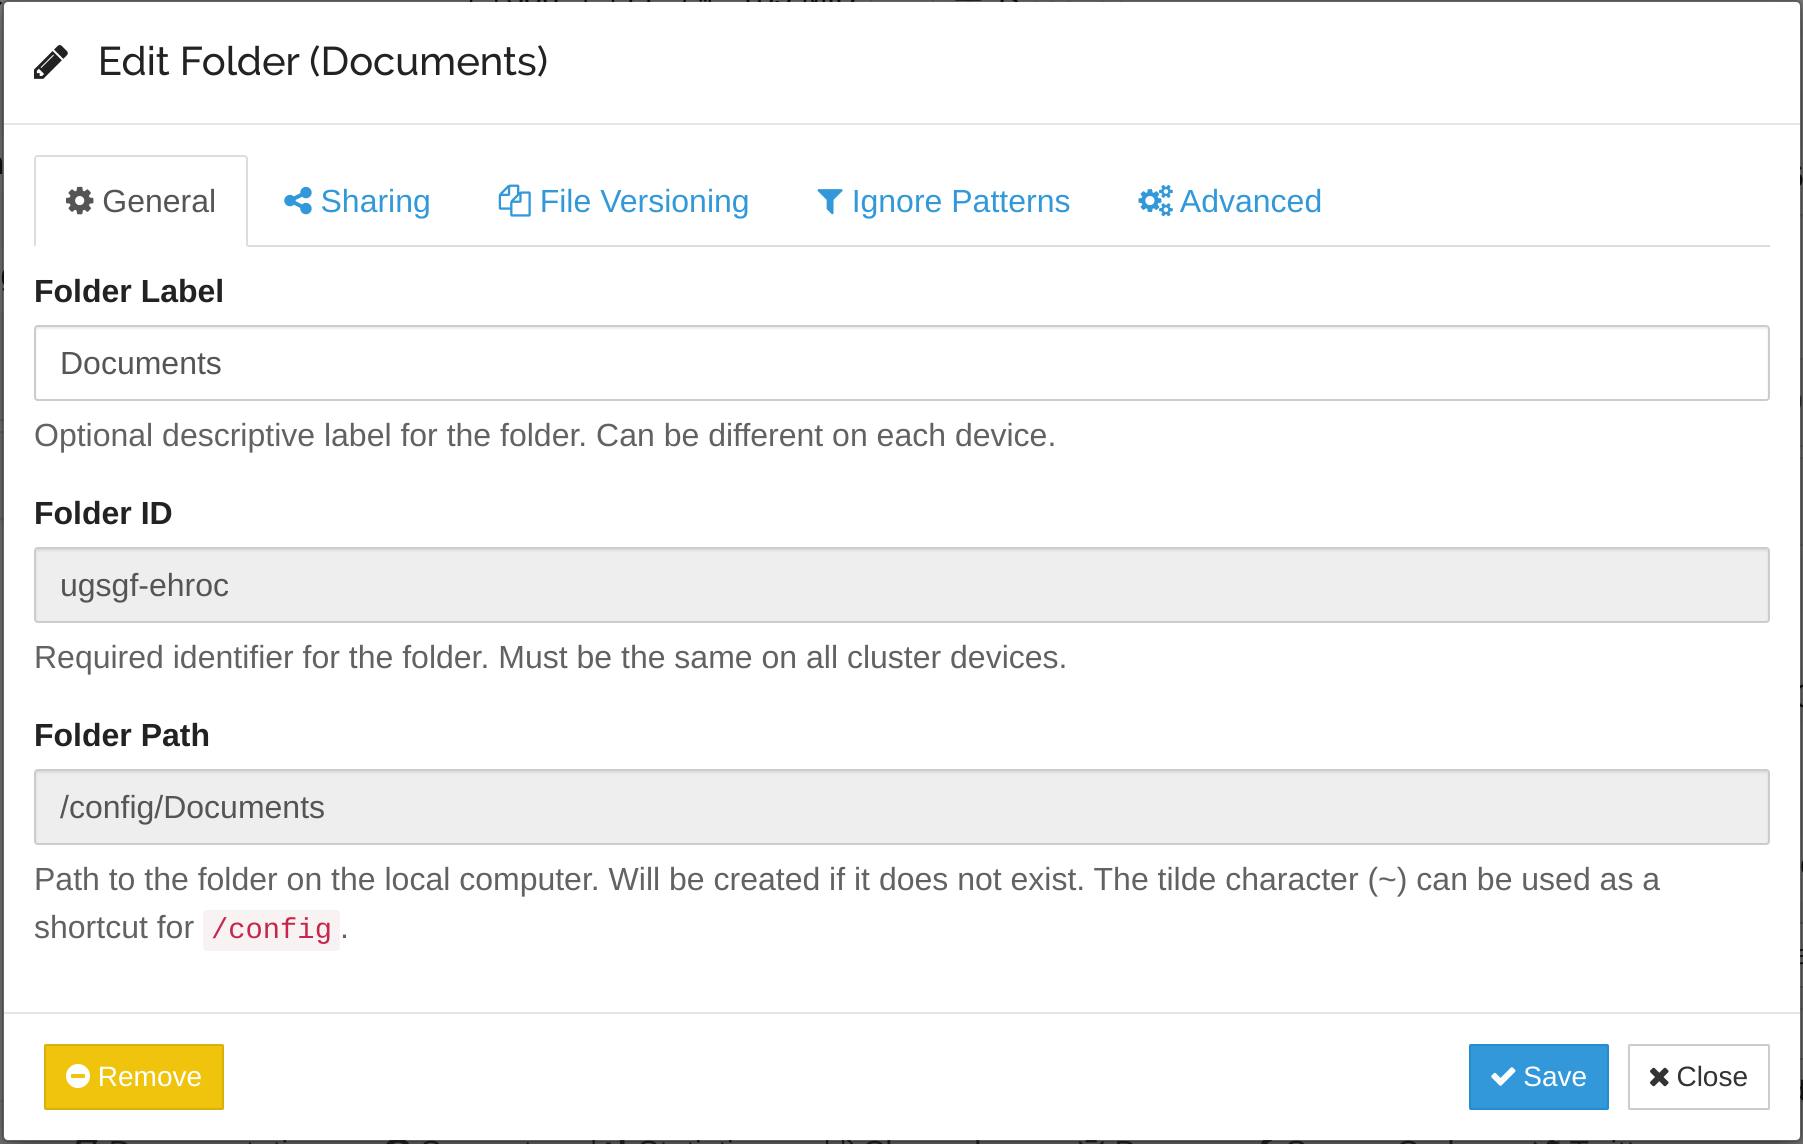
For my setup, I chose to sync the entire ~/Documents directory, home to Logseq's data folder. The following screenshots are from the "local" device (my local home server) hosting a Syncthing instance in a container - this is why the folder path exists inside the /config directory.
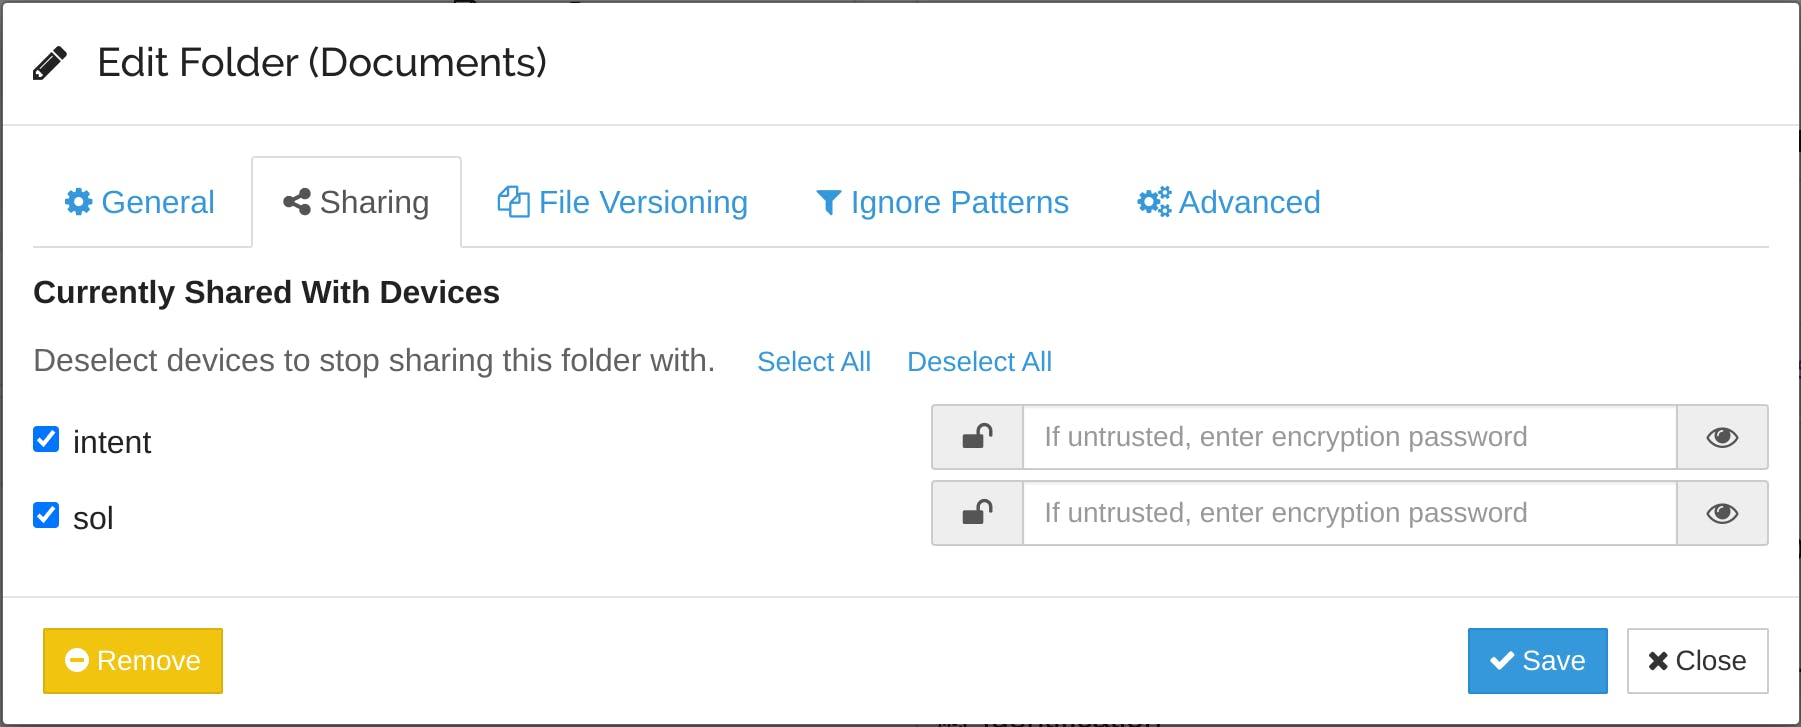
I share this directory between two devices with the hostnames intent and sol.
This approach means the two devices don't need to be powered on simultaneously to sync data between them. The local server acts as an "always on" intermediary.
For more information about running Syncthing in a container on a home server, check out my blog post about using Ansible for precisely this purpose!
Backing up with rclone
While Syncthing ensures all devices on the local network have access to the same Logseq data, it's important to back this data up outside the network. I chose to use Google Drive for this purpose as I find it an easy-to-use option with generous free storage space. The featureful rclone tool interfaces with many other cloud storage options as well, so feel free to use any of its supported providers.
Setting up rclone
First, install rclone using these instructions.
Next, initialize a new remote using rclone's interactive setup processing, following the instructions provided in its excellent Google Drive documentation.
Now, you can backup the synchronized Documents directory using this rclone command (assuming Syncthing is running in a container with a volume named syncthing-config, using a remote named "remote"):
rclone sync ~/.local/share/containers/storage/volumes/syncthing-config/_data/Documents remote:Backup/Documents
The ~/.local/share/containers/... path is where container volumes are stored by podman, an alternative to Docker.
If you're synchronizing the entire Documents directory but you're not running Syncthing in a container, you can back up the Documents directory directly:
rclone sync ~/Documents remote:Backup/Documents
Backups reside in the Backup directory at the top level of my Google Drive. Here you can see the "brain" graph inside the Documents/logseq directory backed up as intended.

However, this required manually running the rclone command-line tool. Let's automate this process using systemd timers!
Scheduling backups
First, create a new systemd service file ~/.config/systemd/user/rclone-sync.service containing this content (adapting the rclone command for your specific setup):
[Unit]
Description=rclone backup

[Service]
Type=oneshot
ExecStart=/usr/bin/rclone sync ~/.local/share/containers/storage/volumes/syncthing-config/_data/Documents remote:Backup/Documents
Next, create a systemd timer file ~/.config/systemd/user/rclone-sync.timer. Note that the filename (minus the .timer extension) must match the service name, i.e. rclone-sync. The file will look like this:
[Unit]
Description=rclone hourly backup

[Timer]
OnBootSec=1h
OnUnitActiveSec=1h

[Install]
WantedBy=timers.target
Here, the OnBootSec= and OnUnitActiveSec= options instruct systemd to run this timer an hour after the machine boots, then an hour after the last activation, so this timer will run continuously every hour. Should you prefer an alternative backup schedule, see this documentation for information about the available time specifications.
Finally, enable the timer with this command:
systemctl --user enable rclone-sync.timer
You can observe the status of timers using this command:
systemctl --user list-timers

Conclusion
The availability of open-source synchronization and backup tools allows anyone to create custom solutions for their given use case. With the setup explored here, Logseq data is automatically synchronized between devices through a home server where this data is backed up to the cloud so that your knowledge base is readily available on your network and securely stored outside of it for redundancy and peace of mind.
Embrace the synchronicity! 🥳